Getting started
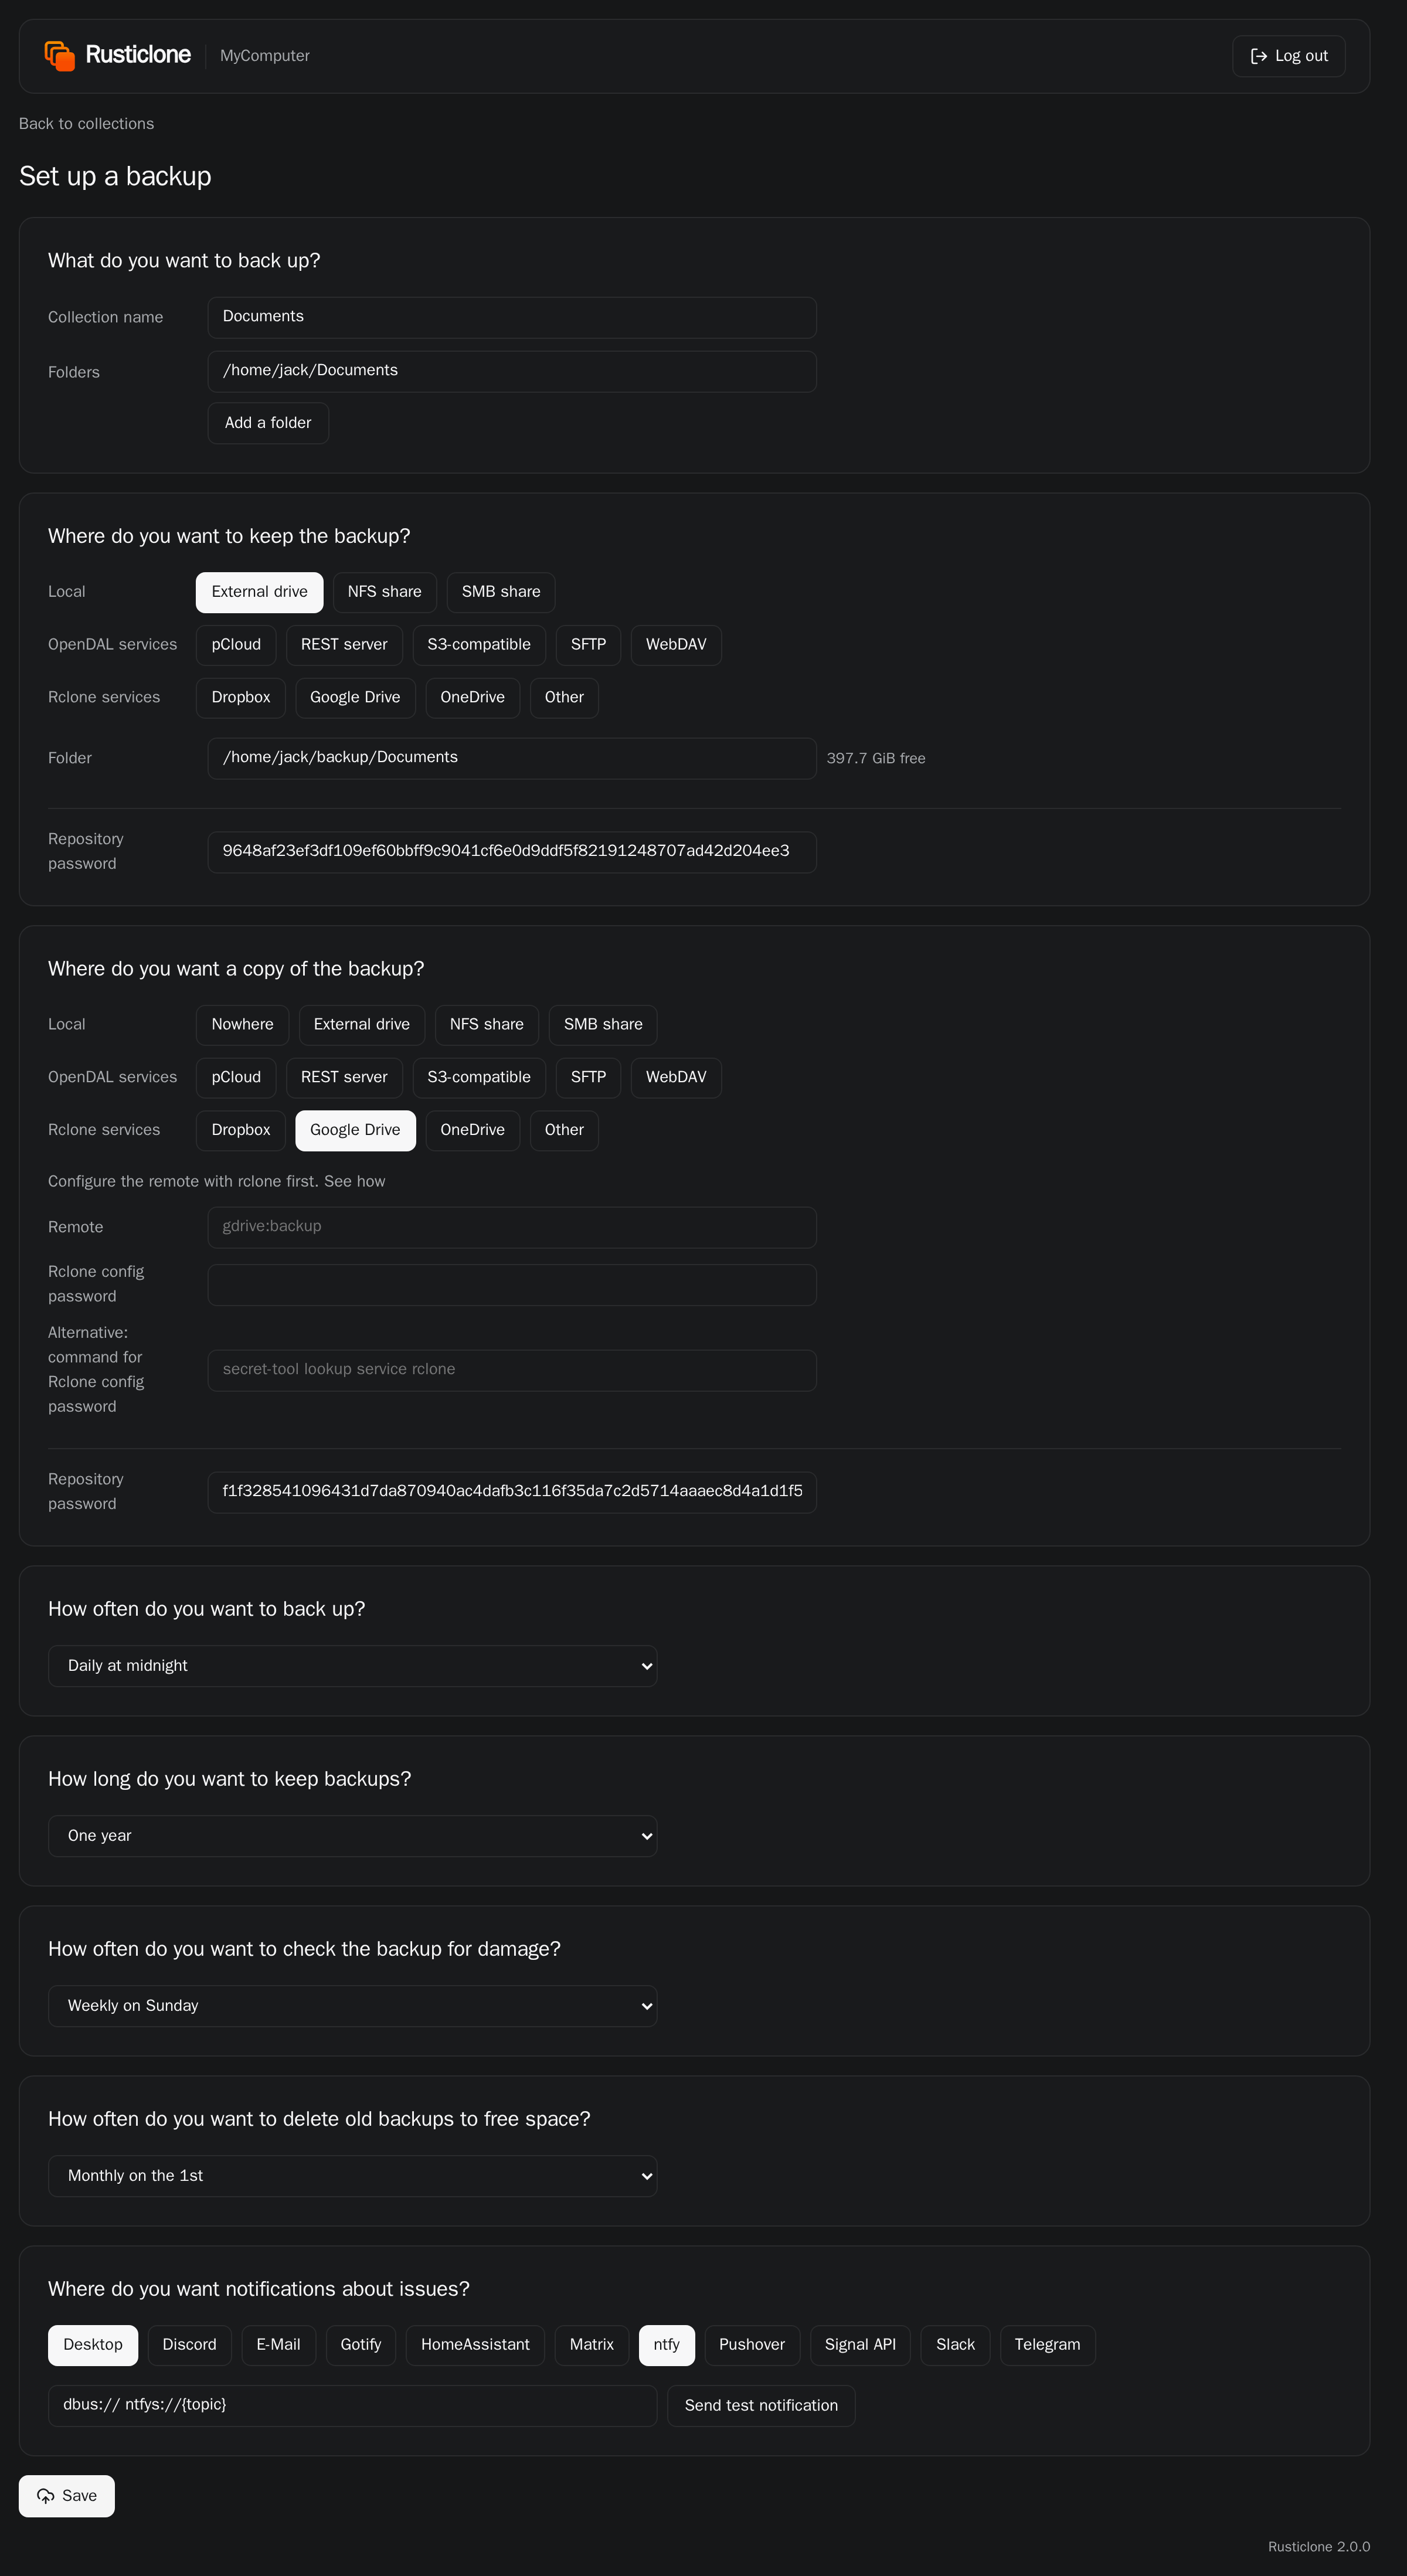
Run rusticlone serve --open to create your first rustic profiles from the web UI.
Rusticlone will offer to download rustic from GitHub if it’s not already installed on your system.
Profiles are simple .toml files that contain the information about what folders you back up, where you back them up, and with which password.
Keep a copy of them away from the computer (e.g. password manager, cloud drive, private git repo), as you’ll need them to restore your files in case of a disaster.
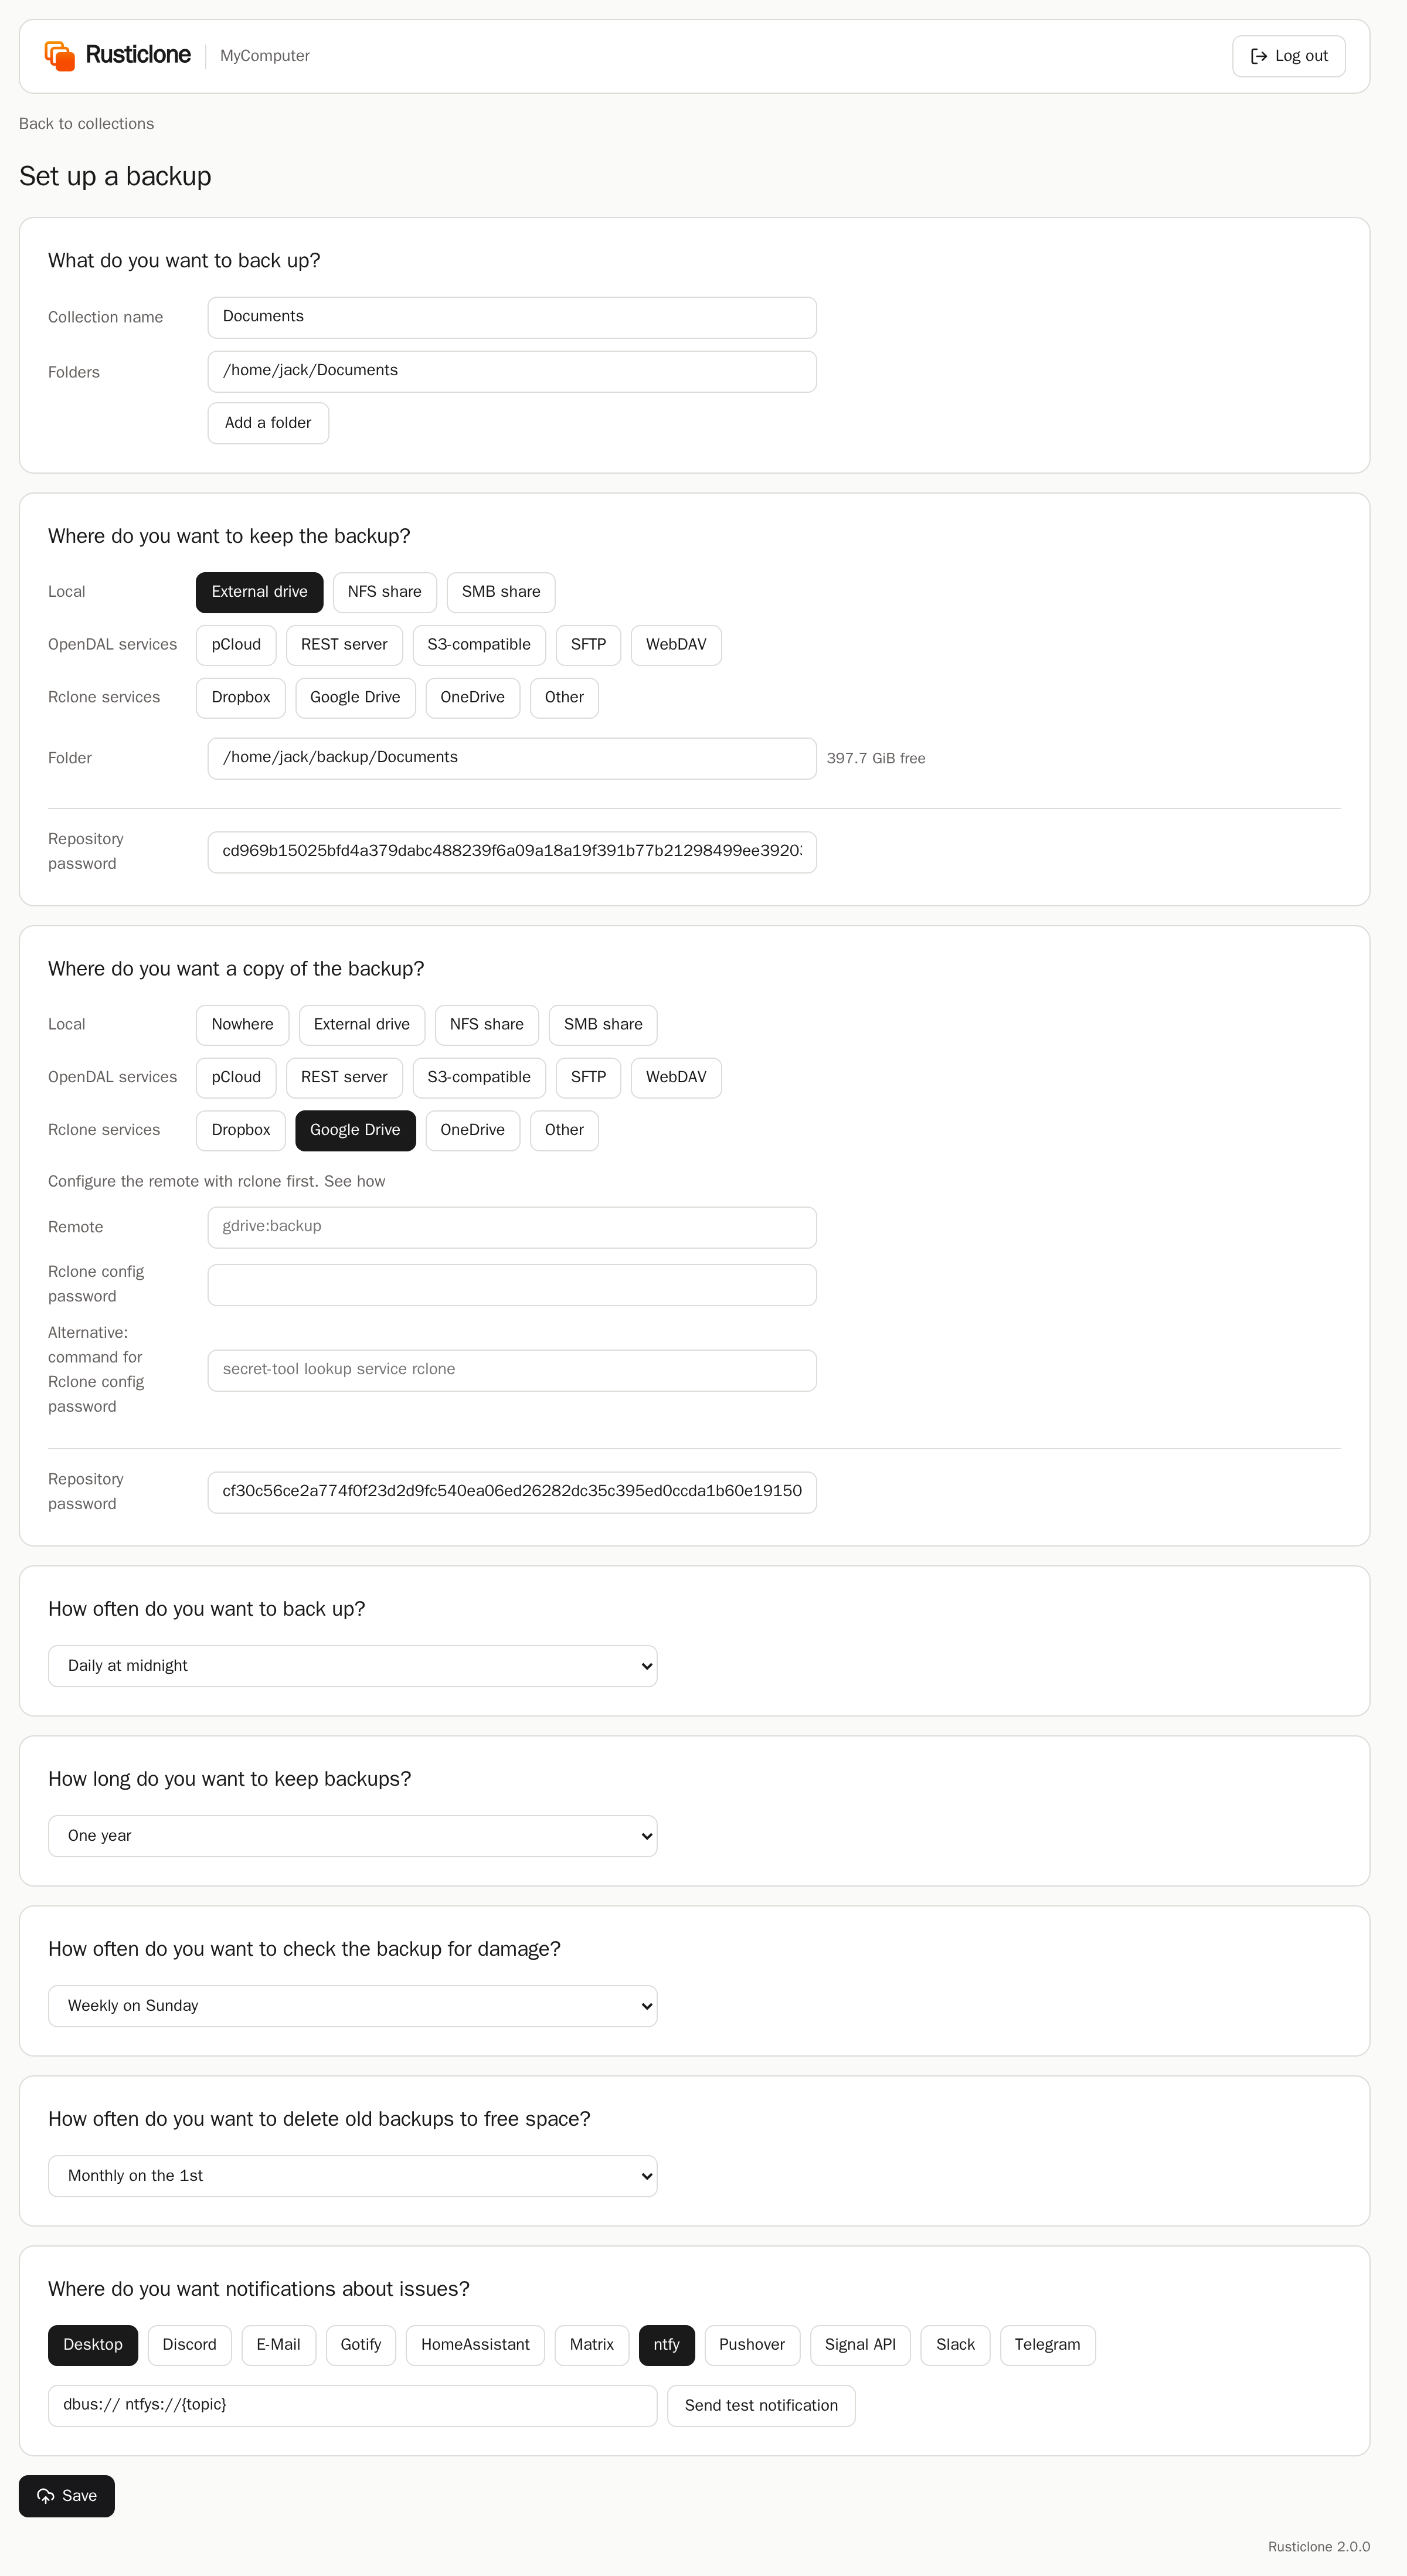
If you already use rustic, just add these environment variables to your profiles and launch the server with the same command:
[global.env]
# when to take snapshots, copy them to other repositories, and mark old ones for deletion
RUSTICLONE_BACKUP_CRON="@daily"
# when to check data consistency and how much
RUSTICLONE_CHECK_CRON="@weekly"
RUSTICLONE_CHECK_SUBSETS="10"
# when to remove old snapshots
RUSTICLONE_PRUNE_CRON="@monthly"
# where to notify about issues (Apprise format, space separated)
RUSTICLONE_NOTIFY_URLS="dbus:// ntfy://ntfy.sh/mybackups"
For scheduled backups, you need to start Rusticlone on boot or user login. You can do so by running rusticlone install as a admin or regular user.
This will also make the app visible in the start menu or app library, and add a tray icon when it’s running as regular user.
It will also create a configuration file based on your system.